What are Lighting Patterns?
Below I will give four examples of portrait lighting patterns: split, Rembrandt, loop, and butterfly.
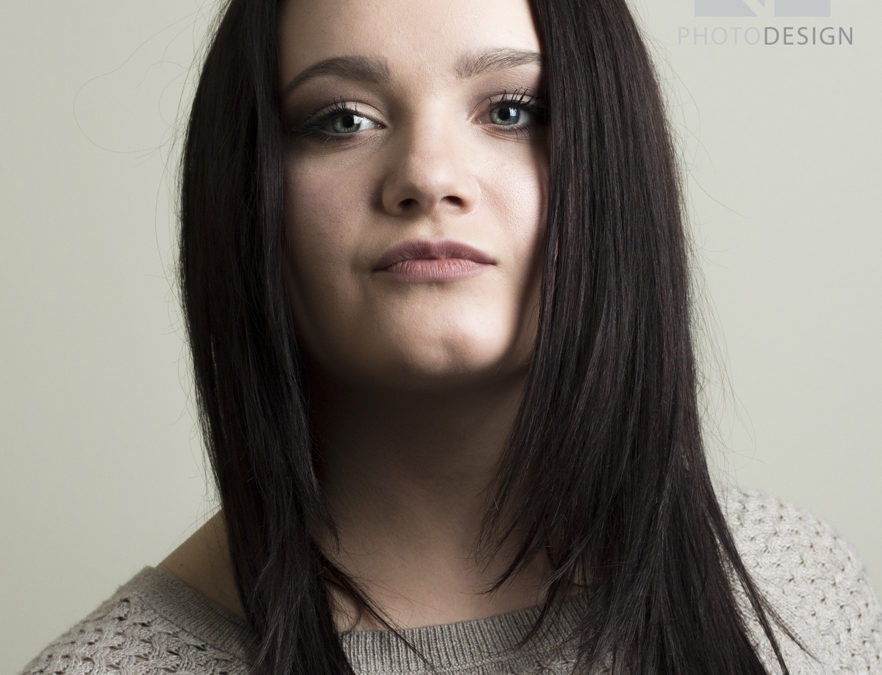
Split Lighting
When you see an example of split lighting, you can see how it got its name. Split lighting is when you have the lighting split half way across the face, one side is dark and one side is light.


For these photos I used both speed and continuous lighting. The only editing I did was I darkened the shadows a little bit. My settings were ISO: 100 Shutter Speed: 1/160 Aperture: 6.3
Rembrandt Lighting
Rembrandt, is a lighting pattern named after the dutch painter, Rembrandt. It is identified by an illuminated triangle under the eye, on the side of the face that is dim.


For these photos I only used continuous lighting. When editing I sharpened her eyes a little bit, and softened her skin a little bit using surface blur and a mask.
Loop Lighting
Loop lighting can almost easily be confused with Rembrandt. If the whole lip is illuminated creating a loop from one side of the face to the other, you know it is loop lighting.

For this photo we had a couple of speed lights set up, and adjusted so that we could get the loop lighting pattern. I cropped the photo in Photoshop and sharpened her eyes a little bit.
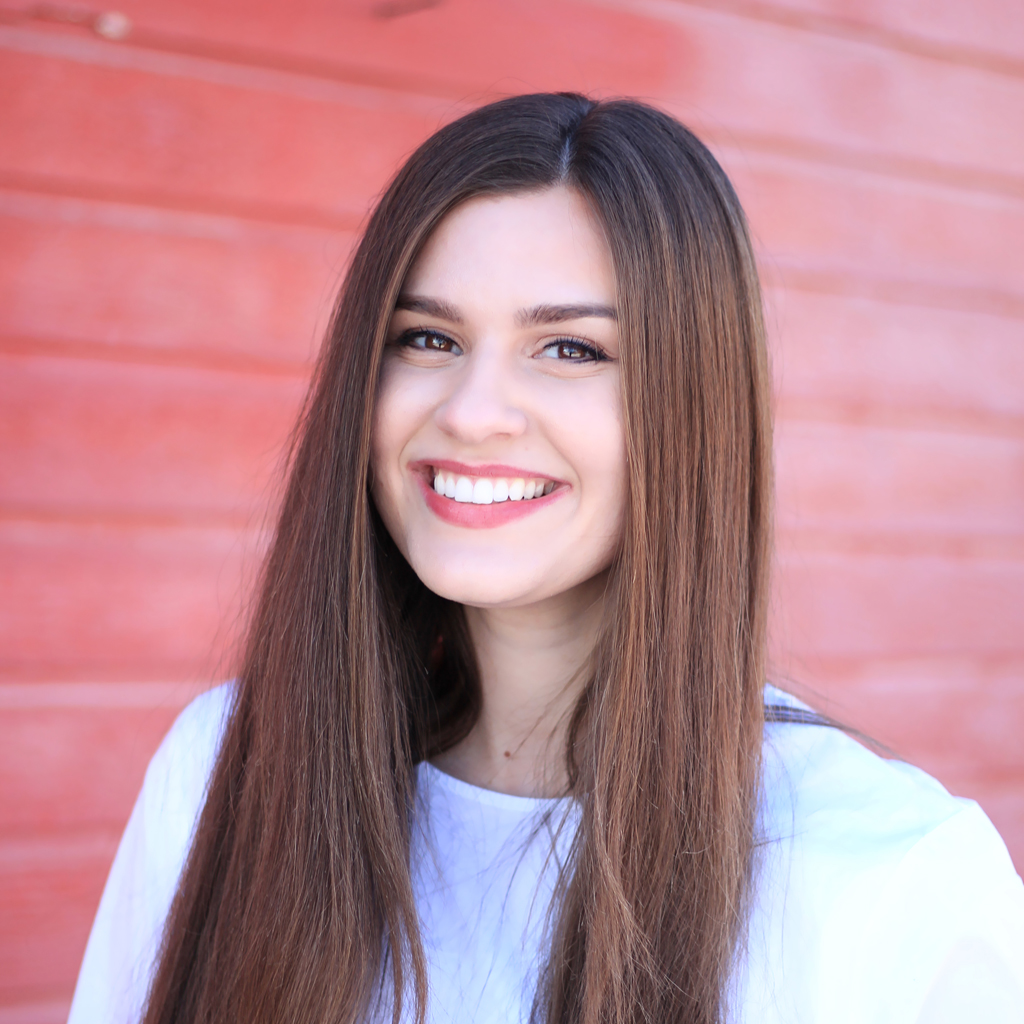
Butterfly Lighting
Butterfly lighting is known to be the most flattering lighting pattern. It really can define the jaw and cheekbones, but it is characterized by the little shadow underneath the nose, often resembling a butterfly.


For each of these photos I used different lighting equipment. For the first I just used continuous lighting, for the second I used combination of speed and continuous, and for the last I just used speed lighting. I applied some minor edits, for each of them (increase in clarity, softening of skin, cropping, etc…).